
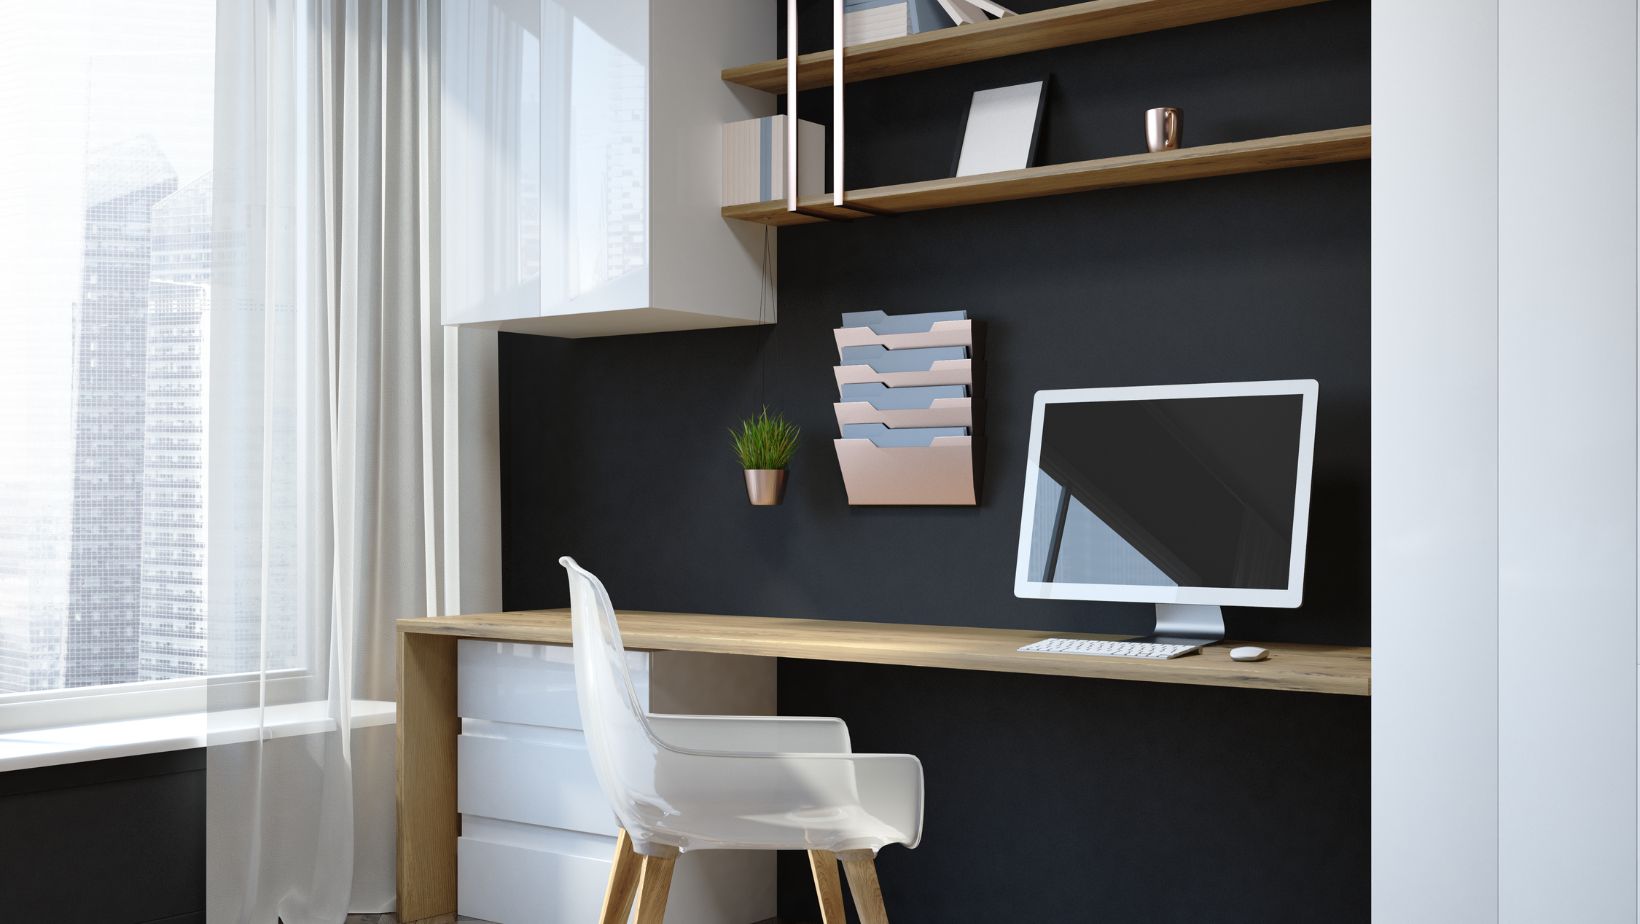
A productive studio starts with clarity, comfort, and everything you need close at hand. When supplies, cables, materials, or equipment are spread out chaotically, it’s more difficult to focus, think clearly, and stay engaged. Creators of all kinds share that clutter confuses their workflow, breaks their natural rhythm, and slows down or complicates even simple tasks. Organized spaces ease this friction and let the studio feel calm and prepared for work.
Even small improvements can add up. Clearing off surfaces, putting tools near where you use them, finding a consistent place for stuff so you keep moving through your creative process instead of stopping to search for what you need—if it’s a studio for art, for music, for photography, for crafting, for digital work, the more things are organized the better, the more smoothly the work can flow and the more ideas can take flight.
FAQ for Building a More Productive Studio
People often search for question keywords when trying to improve their workspace, especially when clutter begins to interfere with creativity. An organized studio makes it easier to focus and stay productive, whether you are working with physical materials or digital tools. Some creators also use outside options like secure self storage in Bullhead City to temporarily store bulky equipment, seasonal props, or backup supplies that take up too much room. These quick answers help guide studio improvements.
How can I make my studio feel more organized?
Start by clearing the surfaces you use most. Group tools and materials by category so each task has its own space.
What should I prioritize when organizing a creative studio?
Focus on accessibility. Keep frequently used items within reach, store rarely used supplies farther away, and maintain clear pathways so you can move comfortably.
Why does an organized studio boost productivity?
A clean, structured environment reduces distractions, shortens setup time, and helps you stay focused on the work itself.
Fast Tips for a More Efficient Studio Setup
A productive studio is built through small, consistent choices. These steps help support your daily workflow and make creative tasks feel smoother.
- Clear your main work surface first.
- Sort tools into bins or drawers by purpose.
- Use vertical storage to save floor space.
- Label containers so items are easy to find.
- Keep a small area for ongoing projects.
- Remove unused supplies once a month.
These habits help your studio stay functional rather than chaotic, giving you more energy for actual creation instead of constant cleanup.
Brief timeline:
Most creatives begin by clearing one workspace and removing loose clutter. Then they sort tools into categories, designate areas for storage, and improve lighting for comfort. Over time, they refine their layout, reduce unnecessary items, and build simple routines that keep the studio orderly and productive without requiring constant effort.
Creating Storage Stations
A productive studio depends on having clear, dedicated areas where tools and materials can be stored and easily accessed. Creating storage stations helps reduce clutter and ensures that everything has a place. These stations can be shelves, drawers, pegboards, rolling carts, or simple labeled bins. When supplies are sorted and stored in predictable spots, the studio becomes easier to navigate, and creative work flows more smoothly. This structure allows you to spend more time creating and less time searching for items you misplaced.
How to Set Up Effective Stations
The best storage stations fit naturally into how you work. Keep frequently used items closest to your main work surface, while storing occasional supplies farther away. Practical checklist: pick stations based on task type, label each area clearly, choose containers that suit the size of your tools, use vertical space when possible, keep pathways open, and revisit your setup monthly to adjust for new habits. These small actions help your studio stay functional and flexible as your needs change.
Why This Helps Creativity
When your tools are always within reach, your workflow becomes steadier. You can start and stop projects easily without disrupting your setup or losing momentum.
Supporting Daily Workflow
A strong workflow makes studio time more enjoyable and productive. When your space supports your process, you spend less time reorganizing and more time thinking, experimenting, and creating.
A clear workflow encourages you to move naturally from one task to the next without interruptions.
What Makes This Approach Effective
It respects how each creator works differently. Instead of forcing a strict system, it allows the space to evolve as your style and needs shift.
A Helpful Path Forward
By designing your studio around your habits, using thoughtful storage stations, and keeping materials easy to reach, you create a workspace that supports your productivity every day.
Experiences From Creators
A freelance illustrator in Colorado shared how reorganizing her small studio transformed her daily work. She had long struggled with scattered supplies, overflowing drawers, and a desk that was always covered with half-finished sketches. The clutter made it difficult to start new projects and caused her to lose valuable time looking for tools she needed. Instead of expanding her studio or buying expensive storage furniture, she took a simpler, more intentional approach that reshaped how she worked.
What Changed for Her
She began by removing every item from her desk and sorting supplies into clear categories. This helped her understand what she truly used and what was simply taking up space. She created small storage stations for brushes, pens, paints, and digital accessories, keeping each group close to the area where it was needed. The shift was immediate. Her studio felt calmer, and she found it easier to enter a creative mindset without the distraction of clutter.
How Her System Works
Her routine was simple, replicable and easy for other creators to copy.
Small, bite-sized breakdown of the steps: clear the main work surface completely, categorize supplies into essential and nonessential groups, assign storage stations for critical items, use labeled containers for quick access, place frequently used things within arm’s reach, keep things you don’t often reach for higher up (or further away), adjust lighting to focus the workspace, and do a five minute reset every time you come back into your studio to clear any clutter. This routine helped her build a nurturing, supportive, and organized studio.
Final Thoughts
A productive studio grows from thoughtful organization, not complicated systems. When you create clear storage stations and streamline your workflow, your space becomes an ally rather than an obstacle. By recognizing why organized spaces matter for maintaining a productive studio, you can shape an environment that supports creativity, reduces stress, and makes every work session more rewarding.